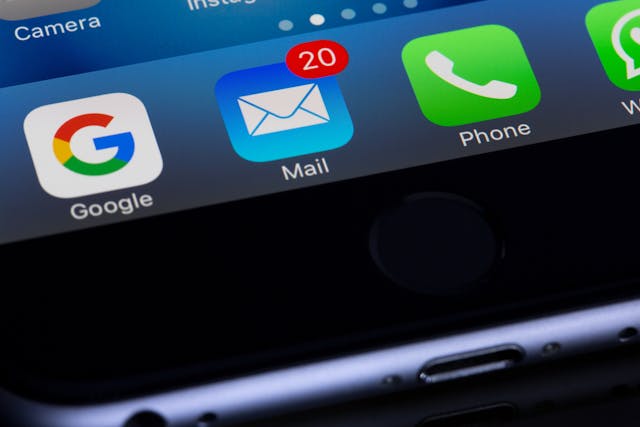
At 11 years old, Instagram boasts an impressive 1.074 billion monthly users, reflecting a 22.9 percent growth from 2020 to 2021. Users typically spend around 30 minutes per day on the platform, with 200 million daily visits to business profiles. Given the extensive viewership on your posts, it’s vital to ensure your images resonate well.

Source: Pixabay
Instagram supports various content formats, including posts, Stories, IGTV videos, and Live streams. Each format comes with its own image requirements, which are essential to follow. This article will guide you through Instagram’s image formatting essentials.
-
The Square Format on Instagram
If you’ve used Instagram, you might have noticed its emphasis on the square format, along with the challenges posed when uploading images of different dimensions. Typically, uploaded photos appear zoomed in, though you have some control over the zoom level.
In some cases, zooming out is not an option, which can hinder showcasing the full scope of your images. This issue has frustrated numerous artists, photographers, and casual users alike. So, what exactly defines “square resolution”? It refers to dimensions of either 320×320 or 1080×1080 pixels, with the latter being preferable. You may also upload images within this range, which will maintain their original size. If your image is under 320 pixels, Instagram will resize it automatically, while images exceeding 1080×1080 will undergo the square treatment.
-
Managing the Square Format on Instagram
To control what appears within the square, using photo editing tools like Photoshop or even Microsoft Paint is a viable option. Here’s one way to effectively “manage the square”:
- Start with a new image in a square resolution—experiment until you find a size that works.
- Fill the square canvas with your chosen image.
- Adjust and resize until you achieve the desired outcome.
This method ensures your image perfectly fits Instagram’s square format. You can pre-adjust your images for better presentation, allowing you complete control over the displayed content without relying on Instagram’s features.
-
Minimizing Unwanted Space and Adjusting Images
Nonetheless, the challenge of fitting the entire image onto Instagram while avoiding unwanted white space remains. Let’s consider an alternative strategy:
- Create a new square canvas.
- Insert your image and resize it to fit within the square.
- Position the resized image to the far left.
- Fade the area on the right side of the image.
This technique allows your complete image to fit beautifully within Instagram’s square while utilizing negative space effectively.
-
Additional Resizing Tips and Techniques
You can also position the image centrally on the canvas by applying fades or borders to both sides. This method works well for landscape images. Experiment with different arrangements to maximize the square format.
Instagram Image Size Guide
Traditionally, Instagram is known for its square posts with a 1:1 aspect ratio, which forces users to crop their images to meet the necessary dimensions—a common hurdle.
Maintaining a cohesive image grid enhances visual appeal and can attract more followers, leading to more views on your content. For an initial boost in visibility, you might consider visiting Mega Famous.
However, Instagram has expanded its offerings, allowing users to upload portrait and landscape photos as well. You can choose from three aspect ratios for your posts: 1:1 (square), 1.91:1 (landscape), and 4:5 (portrait).
Below is more information on each of these formats:
-
1:1 – Square Images
The optimal image size for this format is 1080px by 1080px.
These classic square images are widely popular on Instagram. The platform also offers an auto-cropping feature that simplifies this process.
Capturing square photos was challenging before, as many cameras only captured landscape or portrait formats. Nowadays, you can easily take square images directly from your iPhone or any program with various size options.
-
Landscape – 1.91:1
The recommended image size for landscape formats is 1080px by 608px.
These are the horizontal images you’ve likely seen on Instagram. Uploading these can be tricky since most landscape photos typically have a 16:9 aspect ratio, which means you’ll often see black borders around your images.
The black border can detract from the overall appeal and make your posts appear out of sync with the rest of your feed.
-
Portrait – 4:5
The ideal image size is 1080px by 1350px.
Portrait images adhere to a 4:5 aspect ratio. These are straightforward to upload, as you can capture portrait images with your smartphone camera. Even if your original portrait photo has a different aspect ratio, it can be cropped to fit Instagram’s requirements.
Does Image Size Affect Your Feed?
Many users worry that mixing landscape, portrait, and square photos will make their Instagram feed appear disorganized. However, this is not the case, as all images are displayed as square by default in the feed.
When a post is viewed, images appear in their respective landscape or portrait formats, but the preview thumbnail remains square. This keeps your feed looking consistent. You can maintain cohesion in your Instagram grid, ensuring a polished presentation. If you need to adapt the dimensions of your images to achieve a seamless fit in your feed, you can use tools like Adobe Express for free, which enables resizing without sacrificing image quality.
Conclusion

Source: Pixabay
With this knowledge, you should now have a clearer understanding of how to fit images within Instagram’s square format, the necessary resolutions, and techniques to mitigate unwanted negative space when adjusting your photos. Be mindful of image sizes to ensure your posts appear precisely as intended, without unwanted cropping.
Avoid cropped images with unattractive black borders by ensuring your uploads meet the specific size requirements. This guide will help you produce stunning content for Instagram.
Add Your Comment